Neckline Planning for Machine Knitters
garment shaping neck shaping
Neckline Planning
When choosing a sweater style to knit, one of the many decisions is "what neckline style do I want?"
There are many considerations when making this decision:
When choosing a sweater style to knit, one of the many decisions is "what neckline style do I want?"
There are many considerations when making this decision:
- Your preference
- Your skills
- Your machine
- The chosen yarn
1 Finishing Necklines on the Knitting Machine
By Katharine Seaman (used with permission)Where to Begin?
As you plan your garment:
- Think about coordinating the trim at the bottom with the trim around the neckline.
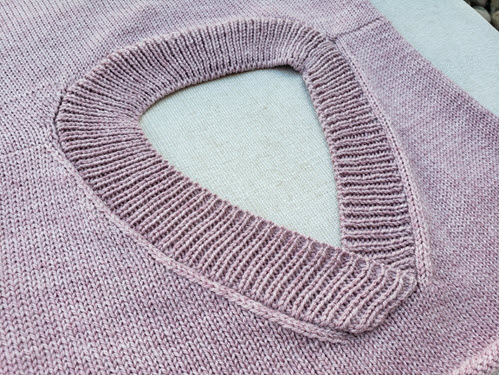
- If you have a ribbed border, consider placing ribbing at the neckline and on the front bands.
- If you have a plain turned hem, a stockinette neckband and front bands will coordinate nicely.
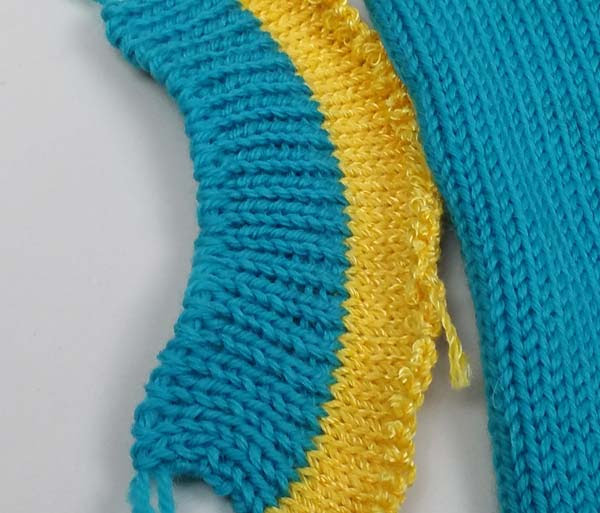
- If the garment is for a baby or a little (or big) girl, you might want to consider a ruffle at the neckline.
2 Some Things to Keep In Mind
The neckband choice will react differently with the body of the garment.- A ribbed neckband will tend to stretch out and gather the body of the garment as it relaxes
- A stockinette neckband will be a bit tighter and the neckband may buckle. This occurs on round necklines but not on the straight lines of a V-neck.
In order to compensate for this when making a full-sized garment
- Ribbed Neckband: add 10 to 15% more needles
- Stockinette Neckband: decrease the needles by 5%
- Tuck stitch or a slip stitch, treat the neckband as if it were in stockinette
3 Round Stockinette Neckband
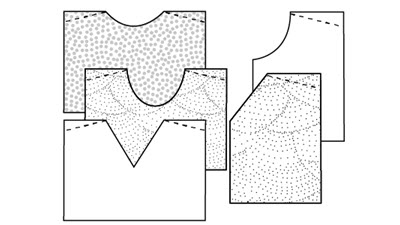
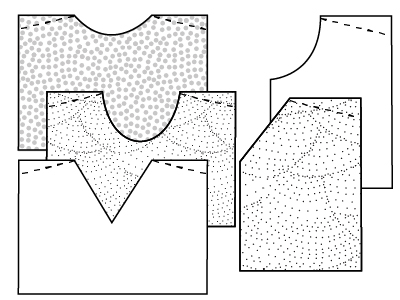
The easiest shaped neckline to finish on the knitting machine, whether single or double bed, is the round or scoop neckline. (The slit is a bit easier, but it is similar to a front band and will be covered below.)You will not have to do any increasing or decreasing for the round neckline.
This neckband is usually knit double, folded to the back, and stitched in place. The double band gives the knitting a more finished appearance.
Single Bed
Since single-bed knitting machines do not give us the option to knit in the round, one shoulder of the garment will be seamed, leaving the other shoulder open to be stitched along with the edge of the band when the band is completed.
When working on a single bed, be sure to remember to add one stitch at each end for the seam.
Double Bed
On a double-bed machine, the neckband can be set up on both beds for a seamless band
(knit circular/tubular )
4 Round Ribbed Neckbands
To knit a ribbed neckband for a round neckline, on both single- and double-bed machines:NOTE:
On the single-bed machines without a ribber attachment, a ribbed neckline looks better when worked as a 2x1 mock rib. A 1x1 rib tends to stretch out and look loose and untidy. Mock Rib Variations
5 Overlapped V Neckband
When the overlapped neckband is created, each side of the V will be worked separately and seamed at the center back or left shoulder seam.To knit an overlapped V Neckband
6 Mitered V Neckband
This V-neck version has an attractive mitered point at the center front or “V.” This is done by decreasing on the outside of the neckband and increasing on the inside.To make a mitered neckband on a V-neck sweater, you will be decreasing stitches next to the center stitch on the right side of the band and increasing on the wrong side.
To knit a Seamed, Mitered V Neckband (using increases and decreases)
7 Square Neckline
Square necklines can be finished like the V-necklines, use either a 1 piece method (transferring stitches) or knit 3 band pieces, seaming the mitered corners8 Slit Neckbands and Front Band
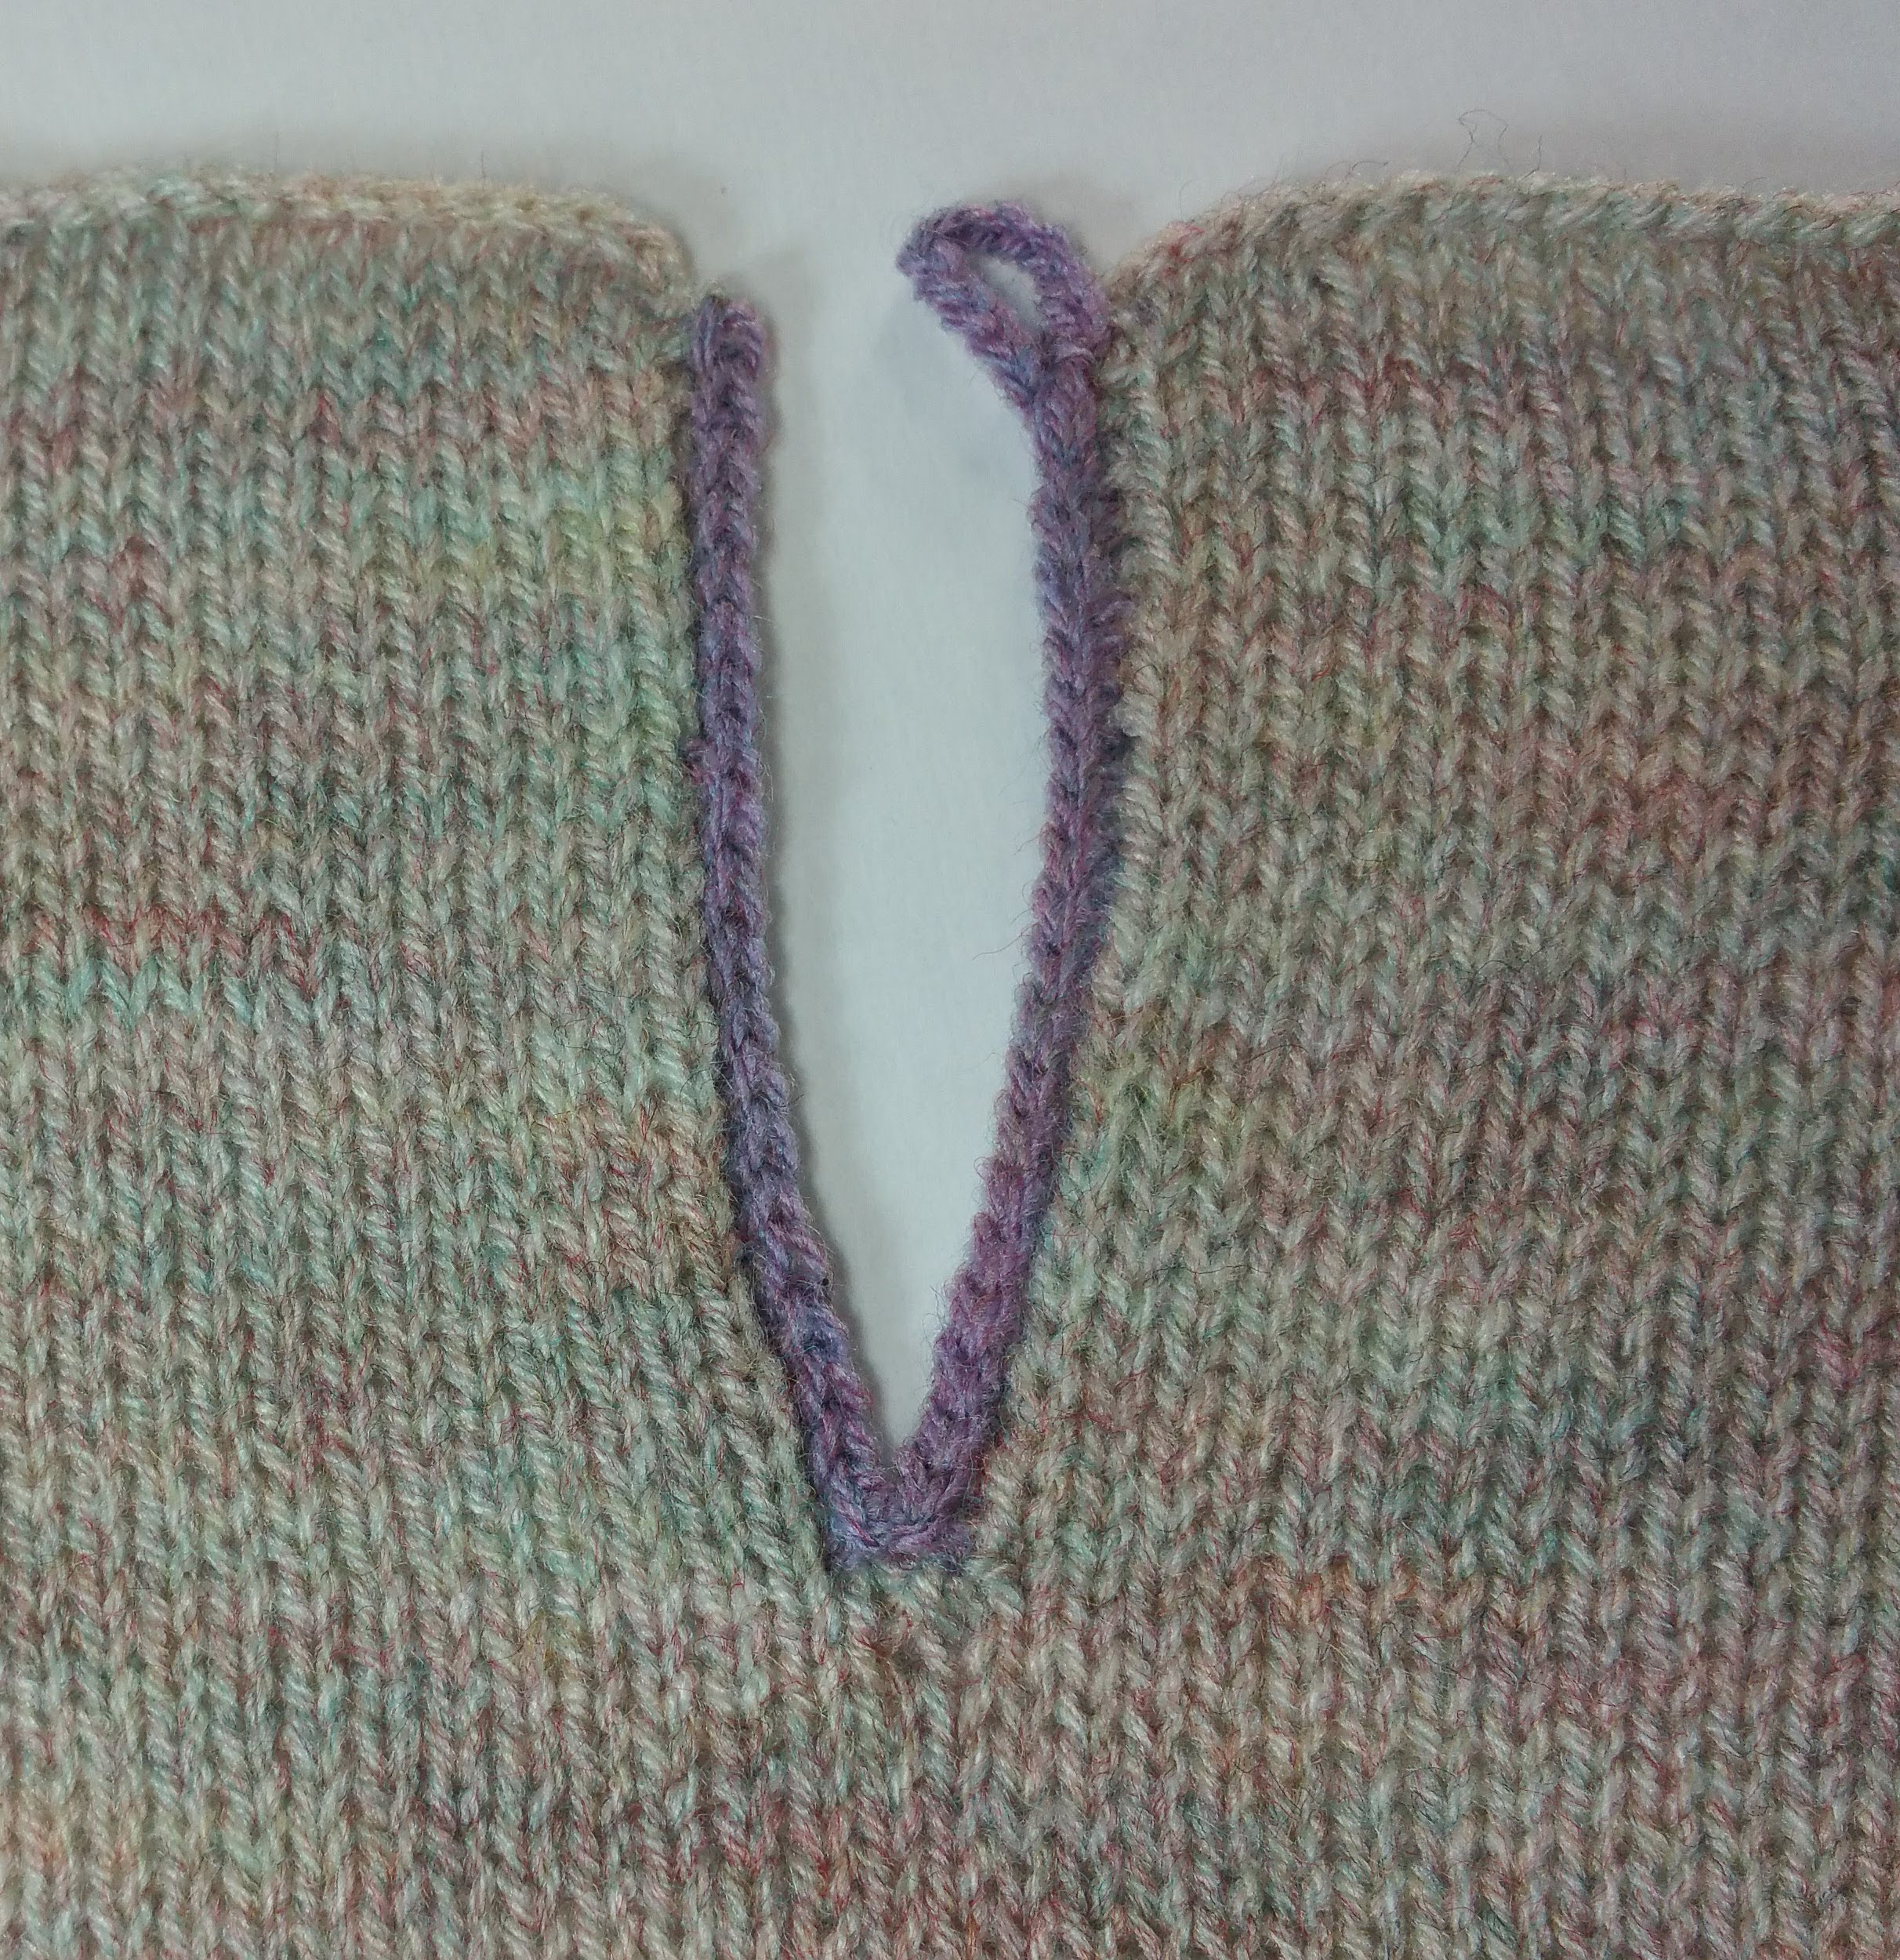
These closings can be either in the front or the back of a garment.Simple Slit
A simple slit may be finished with a crocheted edge to keep it from curling. This would be sufficient for inserting a zipper or a button-and-loop closure at the top.
Placket Style Opening
A slit as created can also have some bound-off stitches at the lower edge for the creation of a placket.
Creating a placket is similar to adding a center front band to a cardigan. Whether it is a placket or a band, hang the first and the last stitch of the garment (wrong side to you for single bed, right side for double), then hang the stitches between the first and the last. Make sure that you are picking up the stitches one in from the edge and that you are working in a straight line.
Ruffles
Sometimes, you may want to add a ruffle around a neckline.
A round neckline is perfect for this, as is a cardigan band. After you hang the garment stitches for the round neckline or front band, add some lace or ruffle to the needles, then proceed to make your neckband following the directions above.
Do make a sample first to ensure that the trim is not too thick for your carriage to pass over and knit the stitches off.
9 Practice Makes Progress
before committing to them on a full-sized garment.
Does the thought of shaping necklines make you cringe? Neckline finishes can make or break the appearance of a sweater.
With the Knit it Now Neckline Shaping Course you can practice and gain confidence in shaping and finishing necklines step-by-step.
Login
You must be logged in to add your comments
2 COMMENTS
Naomi S
Dec 1, 2021
Dec 1, 2021
Great article. Well explained. Thank you.
Jacqueline O
Dec 1, 2021
Dec 1, 2021
Thank you for pulling all this info together into one place. What a great post! Neckline shaping and bands is one of my favorite topics, maybe because I’ve messed them up so often! This is so helpful.