What Machines Are We Talking About?
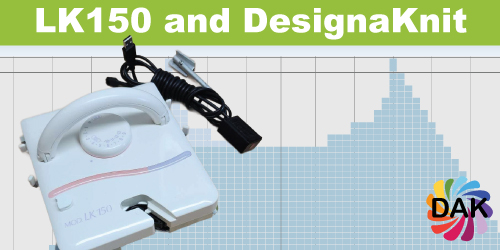
The LK150, Brother KX350, Singer 155, Studio 360 and many others. Even electronic machines where the electronics no longer function fall into this category.
What DesignaKnit Can’t Do
You can't download stitch patterns from DesignaKnit to these machines. You must manually select the needles based on the pattern chart, or use punchcards, mylar sheets, or buttons (on older machines).
So Why Use DesignaKnit?
For garment shaping, DesignaKnit's Standard Garment Styling and Original Pattern Drafting allow you to create garment pieces based on your gauge. Print the shaping instructions and follow row-by-row directions.
For stitch patterns, DesignaKnit includes hundreds of patterns you can use as charts to hand-select needles, create punchcards, or just for inspiration to create you own stitch patterns.
Bonus: Interactive Knitting
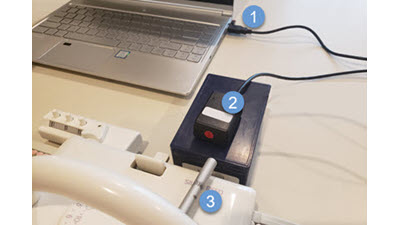
If you purchase a cable (for USB or serial port), you can use Interactive Knitting with ANY machine — even manual ones. DesignaKnit displays shaping info and alerts you when it’s time to increase/decrease or make other changes.
The Big Picture
Whether or not you connect DesignaKnit directly to your machine, it’s a powerful tool to help with shaping and stitch design. Use it manually — print shaping diagrams or charts — or electronically, using Interactive Knitting to guide you as you go.
Explore the Course
Want step-by-step guidance for using DesignaKnit with your manual machine? Our LearnDesignaKnit.com course is built for you:
Frequently Asked Questions
Can I use DesignaKnit without connecting to my machine?
Yes! You can print shaping instructions and stitch charts, then use your machine manually.
What if my electronic machine no longer works?
You can still use DesignaKnit manually for shaping and stitch pattern planning, just like with a manual machine.
What does Interactive Knitting do for manual machines?
It provides visual row-by-row instructions, tracks your progress, and alerts you when to increase or decrease. You still knit manually — but with high-tech guidance.
Is the LK150 compatible with DesignaKnit?
Yes, and our course is tailored to show exactly how to get the most from this combination.
Do I need a cable to use DesignaKnit?
Only if you want to use Interactive Knitting. Otherwise, everything can be printed and followed manually.


